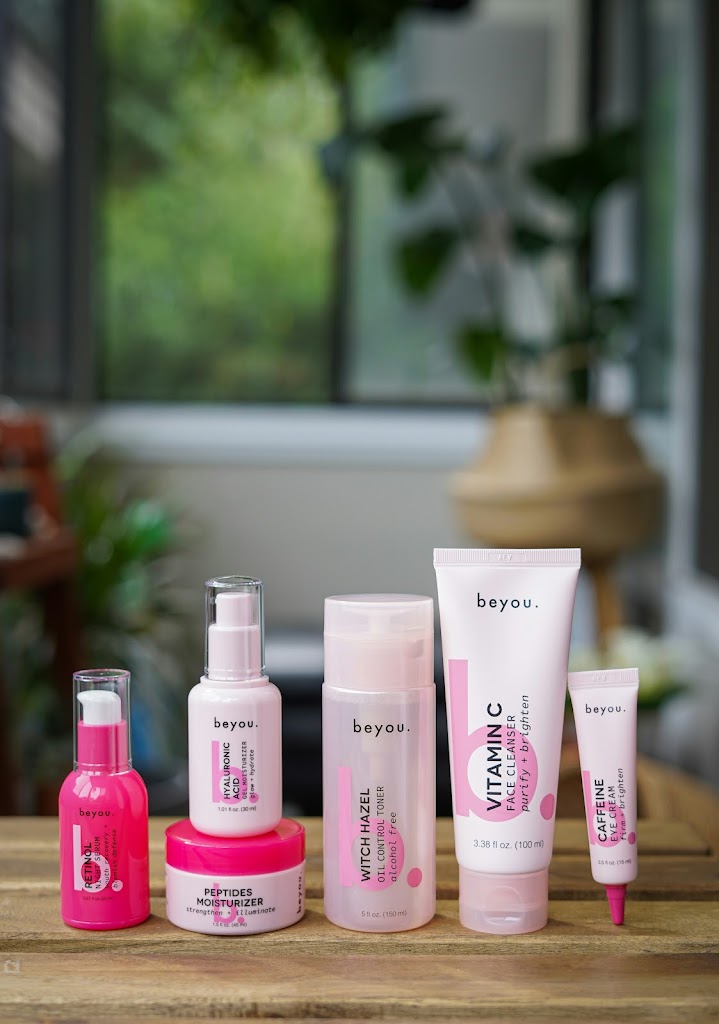
Dealing with acne and pimple marks can be frustrating, especially when you need to look your best immediately. Whether you’re preparing for an important meeting or a special event or just want to feel more confident, these practical tips will help you conceal those unwanted marks effectively.
Color Correction: The Foundation of Concealment
Color correction is based on color theory, where opposite colors on the color wheel neutralize each other. For acne marks, different colors serve different purposes:
Green color correctors work wonders on red, inflamed pimples. The green pigment counteracts the redness, creating a more neutral base before applying the foundation. For a light touch, try using a green-tinted primer all over or a green concealer stick for targeted application on individual spots.
For purple or blue marks (often seen in healing acne), reach for a yellow or peach color corrector. These warmer tones help neutralize the cool tones of bruise-like marks.
Orange or red color correctors can neutralize the darkness before foundation application for darker post-inflammatory hyperpigmentation, especially on deeper skin tones.
Strategic Concealing Techniques
When applying concealer, less is more. Start with a small amount and build up gradually if needed. Using a precision concealer brush allows for targeted application directly on the mark without affecting surrounding skin.
A technique many makeup artists use is the “pat and set” method: Apply concealer with a patting motion rather than rubbing or dragging, which can remove the product and irritate active acne. Let it sit for 30 seconds before gently blending the edges – this allows the product to warm up and adhere better to the skin.
The Right Tools Make a Difference
Silicone-free beauty blenders work excellently for blending makeup over acne without disturbing the concealer underneath. Slightly dampen the sponge first for smoother application.
For precise application, synthetic concealer brushes with a firm but not stiff texture allow you to “stipple” product directly onto spots without spreading bacteria from one area to another. Remember to clean your brushes regularly!
Long-Lasting Coverage
Setting your concealer is crucial for long-lasting coverage. Using a translucent setting powder with a clean, fluffy brush, gently press (don’t swipe) powder over concealed areas. This locks the product in place and prevents midday sliding or transfer.
For extremely stubborn or raised spots, try the “sandwich method”: color corrector → setting powder → concealer → setting powder. This layering technique creates a smooth, long-lasting barrier that stays put throughout the day.
Working With Active Breakouts
For active, inflamed pimples, consider using a medicated concealer containing salicylic acid or tea tree oil. These help treat the breakout while covering it.
If you have a particularly raised pimple, avoid heavy powders which can emphasize texture. Instead, use a mattifying primer on the spot before concealer, then set with the lightest dusting of translucent powder.
Emergency Quick-Fixes
In a pinch, ice cubes wrapped in clean cloth can quickly reduce inflammation and redness before applying makeup. Hold against the pimple for 1-2 minutes, then proceed with your concealing routine.
Hydrocolloid patches (pimple patches) worn overnight can significantly reduce the appearance of a spot by morning, making it much easier to conceal.
Diversion Tactics
Sometimes the best strategy is diversion. Drawing attention to your eyes with a striking eyeliner or bold lip color can pull focus away from skin texture issues.
Remember that proper lighting makes a significant difference in how visible acne marks appear. If possible, apply makeup in natural light for the most accurate assessment of your coverage.
Skin Preparation Matters
Always start with clean, moisturized skin. Dry skin around acne marks can cause makeup to cling to flaky patches, making the marks more noticeable rather than less.
Allow skincare products to fully absorb before applying makeup—typically 5-10 minutes after moisturizing is ideal. This creates a smoother canvas and prevents products from pilling.
The Importance of Removal
At the end of the day, thorough but gentle makeup removal is crucial. Leaving concealer and foundation on overnight can worsen acne and prolong the healing time for existing marks.
Consider double cleansing: first with an oil-based cleanser to break down makeup, followed by a gentle water-based cleanser suitable for acne-prone skin.
Final Thoughts
While these tips can help you effectively hide acne marks in the short term, remember that consistent skincare is the long-term solution. Ingredients like vitamin C, niacinamide, and retinoids can help fade acne marks over time while preventing new breakouts.
Be patient with your skin, and remember that even the most flawless-looking celebrities deal with skin issues—they just have professional makeup artists helping them conceal! With practice and the right techniques, you’ll master the art of camouflaging those temporary marks while your skin heals underneath.


